Hello everybody, it’s John, welcome to my recipe site. Today, I’m gonna show you how to make a special dish, korean cream cheese garlic brioche - my way. One of my favorites food recipes. For mine, I’m gonna make it a bit unique. This is gonna smell and look delicious.
Vegan Korean Six Sided Cream Cheese Garlic Bread is Asian street food heaven in a bun! Full of garlicky dairy-free cream cheese, these buns are crispy on the outside and soft on the inside. Next, plenty of garlic-infused cream cheese is piped between those newly formed petals as if it's a mega-sized bagel.
Korean cream cheese garlic brioche - my way is one of the most favored of recent trending meals in the world. It is simple, it is fast, it tastes delicious. It’s appreciated by millions every day. They are nice and they look fantastic. Korean cream cheese garlic brioche - my way is something which I have loved my whole life.
To begin with this particular recipe, we must prepare a few ingredients. You can have korean cream cheese garlic brioche - my way using 14 ingredients and 8 steps. Here is how you can achieve it.
The ingredients needed to make Korean cream cheese garlic brioche - my way:
- Get 4 brioche buns
- Take 3 tbsp breadcrumbs (optional for topping)
- Get Sweet creamcheese filling
- Get 180 gr cream cheese (I used light philadelphia)
- Take 40 gr double cream
- Get 1,5 tbsp icing sugar (honey/condense milk, xylitol)
- Prepare plastic pipe
- Take Butter Garlic sauce
- Prepare 130 gr butter - melted (I used salted, so I don't add salt)
- Get 2 tbsp garlic paste (more if you prefer)
- Prepare 3 tbsp mayonaise (I used Japanese one)
- Make ready 1 tbsp icing sugar/honey/condense milk/xylitol
- Make ready 1 egg
- Make ready 1 tsp parsley chopped - optional
Guess what, she finished everything and told me it was amazing! Cream cheese, butter and garlic, you can't really go wrong with this combination! This bread looks so delicious, my mouth began to water the moment I laid eyes on it. I am a bread lover, and nothing is better in my books than a sweet bread roll with garlic and cream cheese.
Steps to make Korean cream cheese garlic brioche - my way:
- Make the filling by mixing all the ingredients, I used hand mixer (low - medium speed) till all incorporated. Put all in a plastic pipe ready to use, and put in fridge.
- Slice brioche part way through (Like you do with baked potato) into 4 or 6 part. Set aside
- In a big bowl, melt the butter, and mix with the rest of the ingredients (except for the egg and parsley). leave till room temperature.
- Add the egg into the bowl, mix well and add the parsley (if you use it).
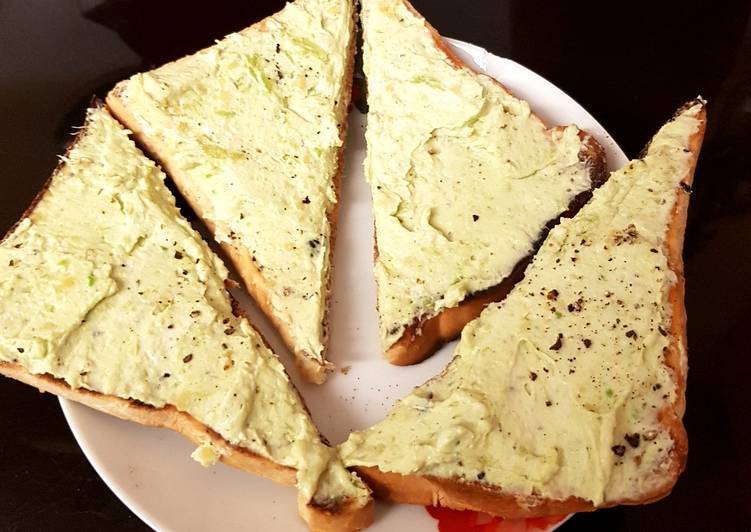
- (see note) Start piping the filling on the brioche, where you cut them
- (see note) Put the filled brioche inside the buttery bowl, and bath/soak them. Making sure all are cover with this nice lovely sauce.
- Dust with bread crumbs (if you are using this), and pipe a bit more cream cheese in the middle
- Bake in 160c for about 20 minutes, its best to eat while it still warm:)
These buttery-sweet rolls are wonderful on their own, but when you slice them while hot, and add cream cheese infused with garlic in the middle, you have got a real winner. Cut each of your buns into six equal wedges, being careful not to cut all the way through. Arrange the cut buns on a parchment-paper-lined baking sheet. Watching K-drama just makes me drool even more as there are almost always scene where they eat. Bulgogi is one of our favorite!
So that is going to wrap this up with this exceptional food korean cream cheese garlic brioche - my way recipe. Thanks so much for reading. I’m sure you can make this at home. There is gonna be more interesting food in home recipes coming up. Don’t forget to bookmark this page on your browser, and share it to your loved ones, friends and colleague. Thanks again for reading. Go on get cooking!